Working with SMART
About SMART
Some disks come with support for the Self-Monitoring, Analysis and Reporting Technology standard. theFrisbee allows you to view SMART attributes reported by these disks.
Viewing SMART data
To view SMART data, select the disk on the left. A pane will appear giving an overview of how healthy the disk is.
If the SMART pane does not appear, the disk does not support reporting SMART data.
If theFrisbee reports that the disk is about to fail, immediately back up all data from the drive and discontinue using it. A drive failure is now imminent, and data on the drive may be lost at any time.
To view more detailed information, select Manage SMART Information.
The Manage SMART Information dialog will appear.
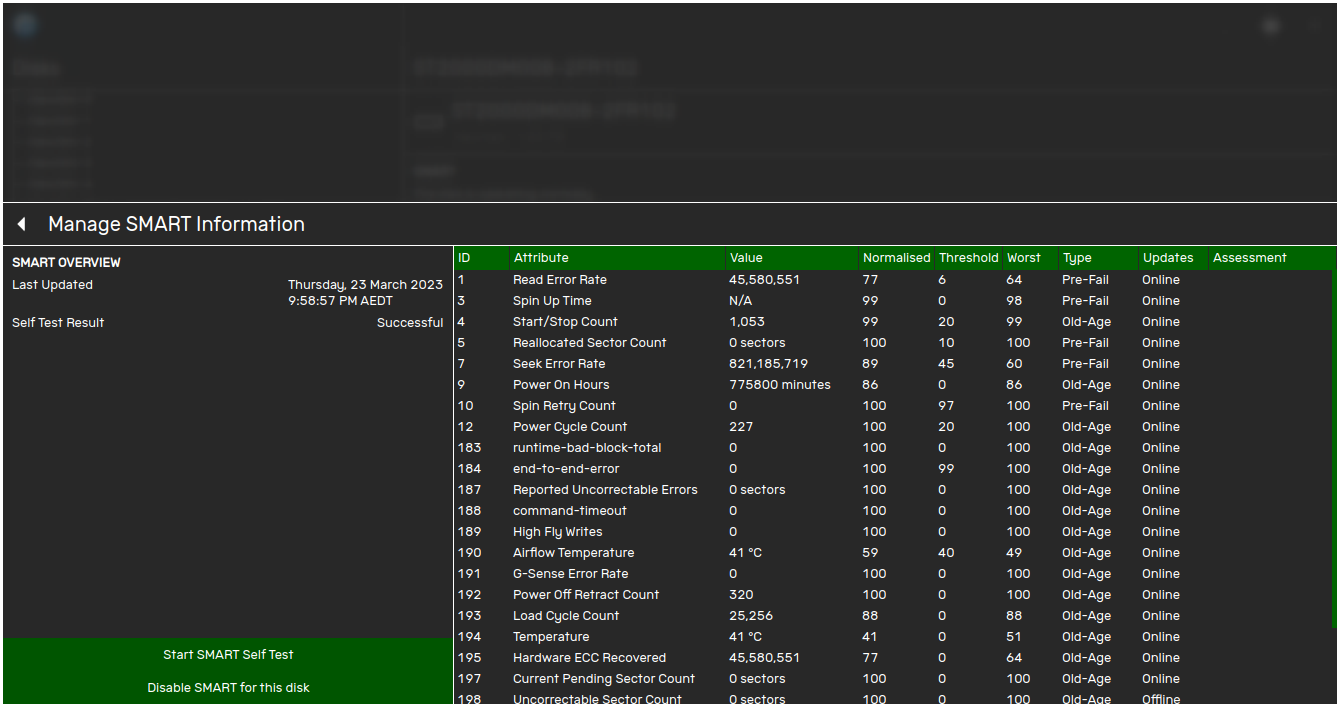
On the left, a more detailed overview of the SMART data will be shown. On the right, all the SMART attributes reported by the disk will be listed.
Starting a SMART Self Test
To start a SMART Self Test, in the Manage SMART Information dialog, click Start SMART Self Test.
The Start SMART Self Test dialog will appear.
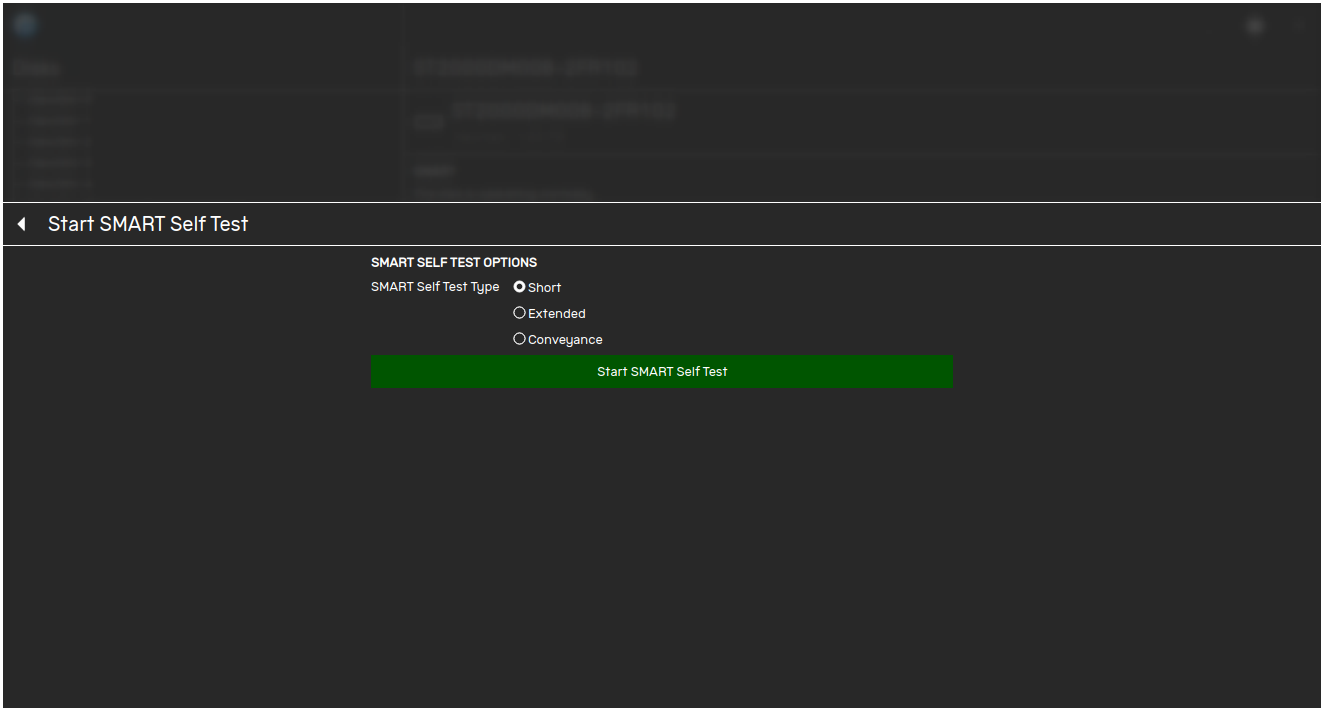
Select the type of SMART Self Test to perform:
- Short
A Short SMART Self Test runs tests that have the highest probability of detecting issues on the disk. - Long
A Long SMART Self Test can take several hours, but it runs all tests. - Conveyance
A Conveyance Self Test runs tests that are most likely to detect if damage has occurred as a result of transportation.
Once you're ready to start the SMART Self Test, click Start SMART Self Test. theFrisbee will start the SMART Self Test, and report its progress to you.
Disabling and enabling SMART
If you want to disable SMART, in the Manage SMART Information dialog, select Disable SMART for this disk. theFrisbee will turn off SMART for the disk.
If, later, you want to enable SMART again, in the Manage SMART Information dialog, select Enable SMART. theFrisbee will turn on SMART and show SMART data again.