Creating a commit
Starting a commit
To create a commit, ensure that you are on the branch that you want to commit to, and then press the Commit button on the toolbar, or select Commit CTRLENTER from the menu. On a Mac, go to Tree > Commit.
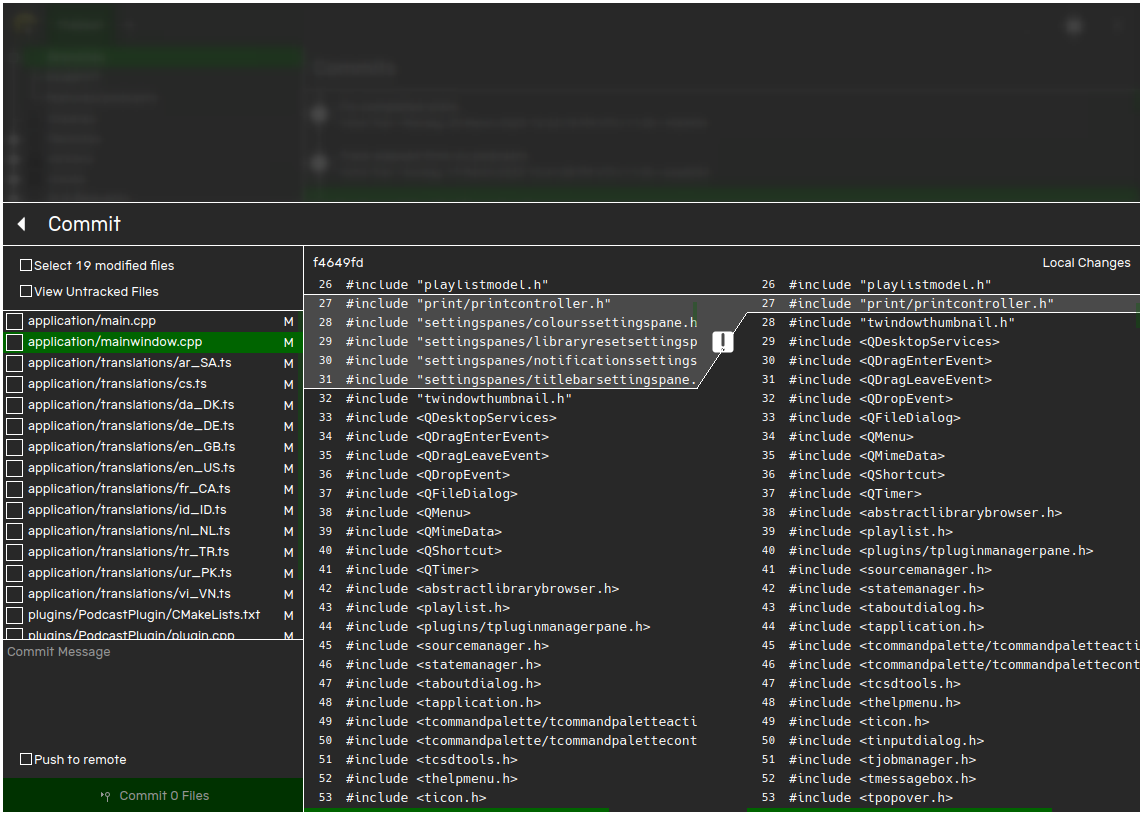
The Commit dialog will appear.
Reviewing changes
The Commit dialog gives you an opportunity to review your changes before you commit them to the repository. Selecting a file will show two versions of a file: on the left, the version of the file as at the last commit is displayed, and on the right, the version of the file currently on disk is displayed.
Once you are ready to introduce the changes to the commit, check the box next to the filename.
If you want to introduce all the changes made since the last commit, check the Select # modified files box.
Tracking new files
Files which have never been committed are called untracked files and are hidden from view by default. In order to show them, check the View Untracked Files checkbox. theBranch will show all the files that have not been added to the repository, and you can introduce them into the next commit by checking them. Introducing an untracked file into a commit makes it part of the repository, and changes will be shown in theBranch by default.
Finalising the commit
Once you've selected the files you want to commit, you can enter a message into the Commit Message box. A commit message is a memo that will be saved along with the commit, and can help identify what changes were introduced in each commit.
If you also want to push the branch to a remote afterwards, you can check the Push to remote box.
When you've finished entering the commit message, press the Commit # Files button. theBranch will create a commit with the changes that you specified and record it in the repository.
If more details are required
If you have not yet configured Git with your name and email address, the Finalise Commit dialog will appear.
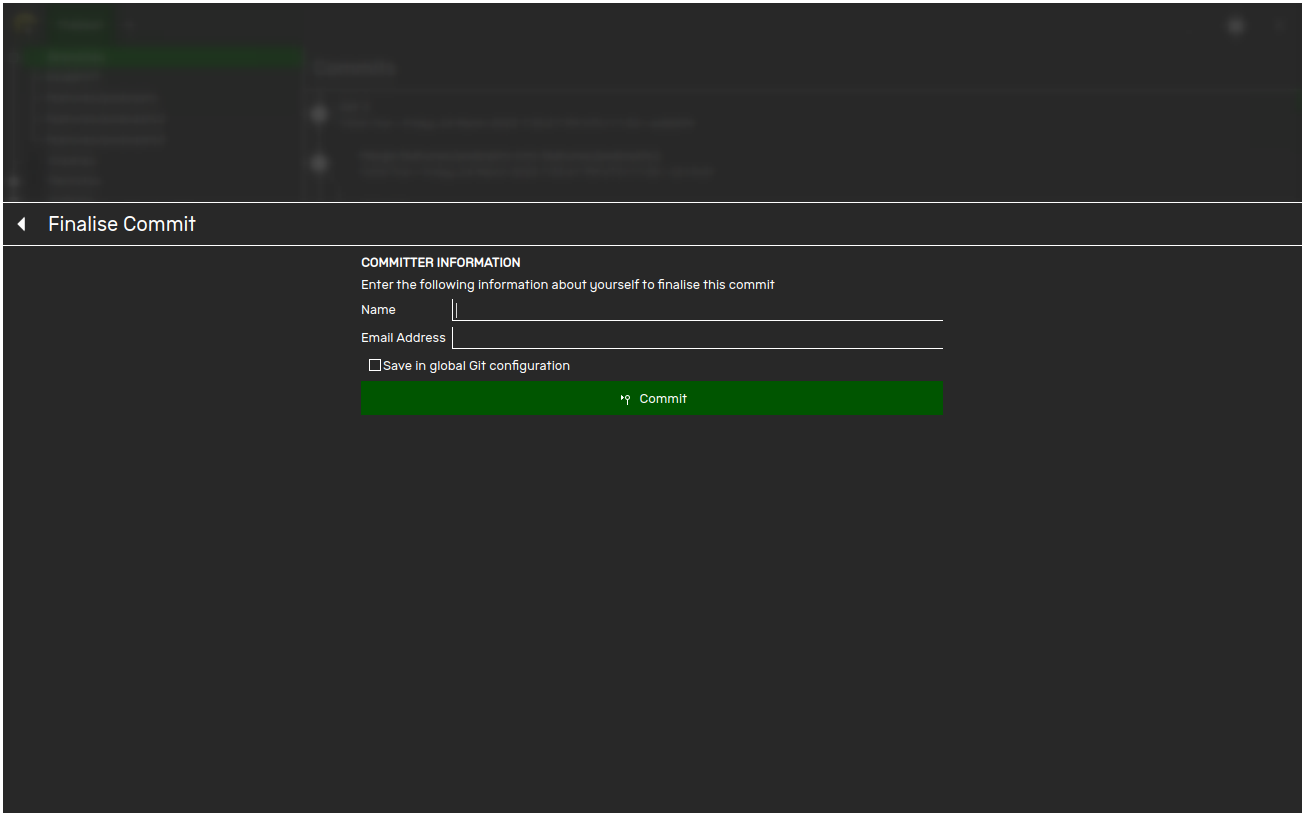
Git requires a name and an email address for every commit. Enter your details and click Commit. theBranch will sign the newly created commit with your details.
If you check the Save in global Git configuration box, the details you enter will be saved on your device and used to sign all future commits.
You can always change the details Git is using to commit in the settings.